 CartVisual
PRACTICAL ANSWER / Product images
Can AI put my art print in a room without changing the artwork?
Use AI for the room, then place the original artwork in a separate image editor as an unchanged source layer. A prompt alone cannot guarantee that lettering or brushwork will survive generation. The compositing and layer controls described here are external editing steps, not a pixel-lock feature in CartVisual.
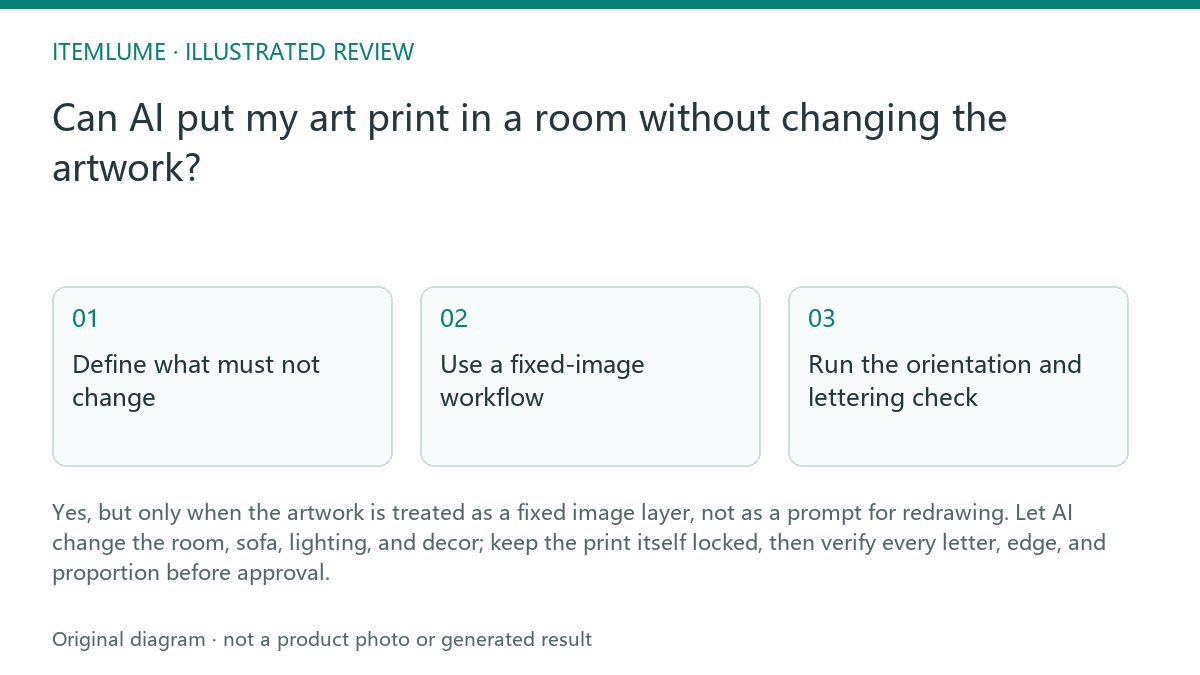
Define what must not change
Start with the supplied art-print file as the authority for the artwork. Record the exact canvas ratio, border width, orientation, letterforms, line breaks, and visible brush or print texture. These are not room styling choices. They are identity evidence that the final image must preserve.
Allow the surrounding room to vary only where the brief permits it: wall color, sofa fabric, cushions, plants, lamps, and camera distance. The print may be resized to fit the wall, but its internal proportions should remain consistent. A wider frame or a different mat may be a presentation change; a rewritten word or altered stroke is an artwork change.
Use a fixed-image workflow
The safest workflow is to place the original print into the room as a post-production overlay or composited image. Generate or edit the room separately, then map the unchanged print onto the wall plane. This replaces the model's guess about typography with a controlled placement step.
Keep a clean reference export beside the room version. Keep the original source layer intact and compare its content before the wall-plane transform. In the room export, check the same four artwork corners and read every letter. Normal perspective can change the print’s visible width-to-height ratio; reject redrawn strokes or a wrong corner mapping rather than demanding that an angled room preview have the source file’s on-screen rectangle ratio. The frame can introduce perspective, glare, or a shadow, but those effects must not obscure or reshape the letterforms. If the artwork is meant to be sold, the room image should support the product rather than become a substitute for the source file.
Keep source evidence separate from scene projection
In an external editor, keep a named source layer for the artwork and a separate room layer. For example, Photoshop Smart Objects retain source image data while allowing reversible transforms; the official Smart Objects guide explains that distinction. It does not guarantee that a flattened export has identical pixels.
- Keep the clean artwork file and its documented aspect ratio.
- Place its four corners on the intended wall plane without generating new lettering.
- Read the final words, check corner mapping and inspect the border for unwanted cropping.
- Keep the editable composite and the exact approved export together so a later room change can be checked against the same source.
Run the orientation and lettering check
Use a short review sequence before approving the scene. It is especially important for typographic prints because one plausible-looking replacement letter can change the product while leaving the room visually convincing.
For a fictional exercise, imagine a print reading “NORTH WINDOW” above a sofa. The generated room looks balanced, but the final image changes the second “O” into a rounded “C.” The scene passes as decoration and fails as a product image. Reject it, restore the fixed artwork layer, and repeat the placement without asking the model to recreate the design.
- Compare the full print with the original reference at equal scale.
- Read every word left to right and check line breaks.
- Check the outer border, mat, and frame ratio against the source.
- Inspect corners and perspective for stretching, cropping, or mirrored placement.
- Approve only when the room changed but the artwork did not.
Separate visual proof from product claims
A room mockup can show how the print may look above a sofa, but it cannot prove the buyer's wall size, frame construction, paper finish, or color under every display condition. Keep those facts in the product information and use the room scene as contextual presentation.
Before publishing, retain the original art file, the composited room image, and the review notes that identify the approved version. If a scene requires visible glare, dramatic shadows, or a partially blocked view, create a second image rather than weakening the main proof image. The goal is a believable room with an auditable artwork layer.
Typographic art-print review
| Observation | Next check | Pass condition |
|---|---|---|
| One letter looks slightly different | Compare each character with the source export | Every letterform and word matches |
| The print looks wider above the sofa | Check the retained source ratio before transformation, then inspect the four-corner mapping to the wall plane | Source lettering and content remain intact; visible perspective changes are consistent with the intended wall plane |
| The border disappears near the frame edge | Inspect the four corners at full resolution | Border remains continuous unless the source is cropped |
| The room lighting creates glare | Check whether glare hides text or strokes | Lighting adds context without blocking artwork evidence |
| The print appears reversed | Use a readable word and asymmetrical border as anchors | Text reads normally and orientation matches the source |
Sources and further reading
Recorded source-review dates are listed individually below. An undated source does not inherit the article’s publication date. Software and platform rules can change; check the current original before acting.
- CartVisual: editorial scope and evidence · Reviewed
- Photoroom: repeatable product image workflow · Reviewed
- Google Search Central: image publishing guidance · Reviewed
- Adobe Photoshop: Smart Objects overview · Reviewed
Frequently asked questions
Can AI redraw the print if the room is accurate?
No. A convincing room does not compensate for changed lettering, brushwork, borders, or proportions. Use the original artwork as a fixed layer.
Can the frame or mat change?
Yes, if the change is clearly presentation context and does not alter the artwork's internal ratio or hide important content.
Is a room mockup enough to prove the product?
No. It shows placement and atmosphere. Keep separate evidence for the actual file, dimensions, materials, and any frame or paper details.
PREPARE ASSETS FOR YOUR NEXT STEP
Create supporting product assets in CartVisual.
Create new product creative assets in the workspace, then continue in your chosen tools. Third-party software procedures described in this guide take place in those applications; this workspace link does not imply an integration. Check current capabilities, account access and credit quotes.
Explore asset creation tools Check pricing and credits