 CartVisual
DIAGNOSTIC GUIDE / Virtual try-on
How do I keep a directional garment print upright when the model changes pose?
A directional print should follow the real garment panel, not the model’s screen position. Keep the approved artwork and a real worn or flat garment reference, then mark its top, bottom, and placement. Review the pose against that map. Do not rotate or mirror the whole image to fix one motif if doing so reverses text, construction, or other details.
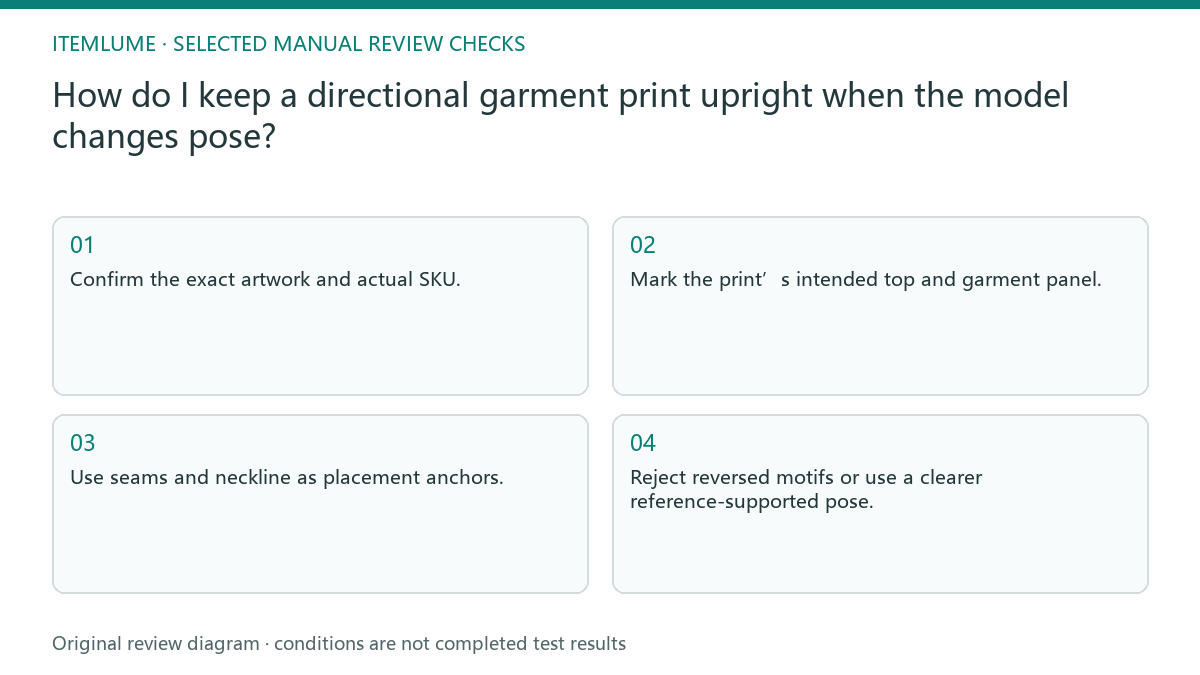
Identify the artwork and the garment panel
Record whether the print is a single placed motif or a repeating pattern. Mark the artwork’s intended top and bottom and the panel to which it belongs. A face, arrow, or word has a reading direction that cannot be inferred simply from an attractive pose or a cropped source image.
Use a real product reference showing placement relative to seams, neckline, and hem. An artwork file by itself does not prove where the manufacturer put it. Likewise, a garment photo without a clear motif may not establish the exact graphic. Keep both kinds of evidence when the design depends on direction.
Review pose changes without changing the print
When the body twists or an arm lifts, the visible panel can tilt and fold. That is different from rotating the graphic within the fabric. Compare the motif’s orientation with nearby seams, not with the vertical edge of the screen. A folded part may be hidden rather than inverted.
Check lettering and asymmetrical details separately. Whole-image mirroring can make one motif seem correct while reversing another or swapping closures. If orientation cannot be verified in a complicated pose, choose a clearer pose instead of inventing the obscured print. Virtual model imagery is not proof of garment fit or manufacturing accuracy.
- Confirm the exact artwork and actual SKU.
- Mark the print’s intended top and garment panel.
- Use seams and neckline as placement anchors.
- Compare pose changes for folds versus graphic rotation.
- Reject reversed motifs or use a clearer reference-supported pose.
A fictional printed-shirt review
Fictional exercise: a shirt has an upright character graphic on the front. A generated model raises one shoulder, and the graphic appears rotated independently of the fabric. The reviewer compares the character’s top with the neckline and side seam instead of judging whether it stands upright on the page.
The next candidate keeps the real placement and uses a simpler pose. If text beside the graphic becomes mirrored, that candidate also fails. No model image was generated for this exercise. Stop when the source does not show the print clearly enough; the artwork cannot be reconstructed reliably from a tiny cropped preview.
Keep artwork approval and product approval linked
Keep a panel-based approval record: actual stock/SKU revision, artwork revision, real garment photo, motif top, neckline/seam anchors, chosen pose and which parts remain visible. Mark a folded or hidden portion as not assessable rather than inventing its lettering. Photoroom’s source-first workflow includes patterns, logos and distinctive details among the facts to preserve. It is not a guarantee that a generator locks pixels. Compare with the artwork actually manufactured for the stock being sold; a newer brand file must not silently replace an older production print.
CartVisual can help prepare model visuals from supplied references; it does not inspect garment production or automatically lock every printed graphic. When a critical direction or small text remains wrong, stop use of that image and arrange external correction or a real photograph. Strong styling cannot compensate for a product-defining motif shown incorrectly.
Print direction and pose map
| Element | Reference | Acceptance |
|---|---|---|
| Placed character motif | Artwork top and neckline | Direction stays tied to panel |
| Repeating directional pattern | Real panel and seam reference | No invented panel rotation |
| Small printed words | Exact artwork revision | No mirrored or changed lettering |
| Raised-arm fold | Real pose-supported reference | Hidden portion not invented |
Use this matrix as a manual review record and add your own real evidence. Its conditions are not completed test results.
Sources and further reading
Recorded source-review dates are listed individually below. An undated source does not inherit the article’s publication date. Software and platform rules can change; check the current original before acting.
- CartVisual: editorial policy and product scope · Review date not separately recorded
- Product photography tips(Adobe Express) · Review date not separately recorded
- Photoroom: Repeatable product image workflow · Reviewed
Frequently asked questions
Must the print stay vertical on screen?
Not necessarily. It should follow the actual garment panel as the body and fabric move.
Can I mirror the whole image to fix it?
Do not mirror the whole image merely to repair one motif. It also changes the apparent side of closures, text and other asymmetric details. Compare the exact garment-panel and artwork references; use a clearer supported pose or external correction when the actual print direction cannot be verified.
Does the virtual pose prove real fit?
No. This is a graphic-placement review, not a garment fit or manufacturing test.
PREPARE ASSETS FOR YOUR NEXT STEP
Create supporting product assets in CartVisual.
Create new product creative assets in the workspace, then continue in your chosen tools. Third-party software procedures described in this guide take place in those applications; this workspace link does not imply an integration. Check current capabilities, account access and credit quotes.
Explore asset creation tools Check pricing and credits