 CartVisual
PRACTICAL ANSWER / Virtual try-on
How do I show a sheer garment without making it look opaque?
Show the sheer garment with its real or clearly identified underlayer, then compare it against a controlled background and repeatable light. Reviewers should be able to see what belongs to the fabric, what belongs to the camisole or lining, and what remains uncertain. A generated image can illustrate appearance, but it does not prove wearing performance.
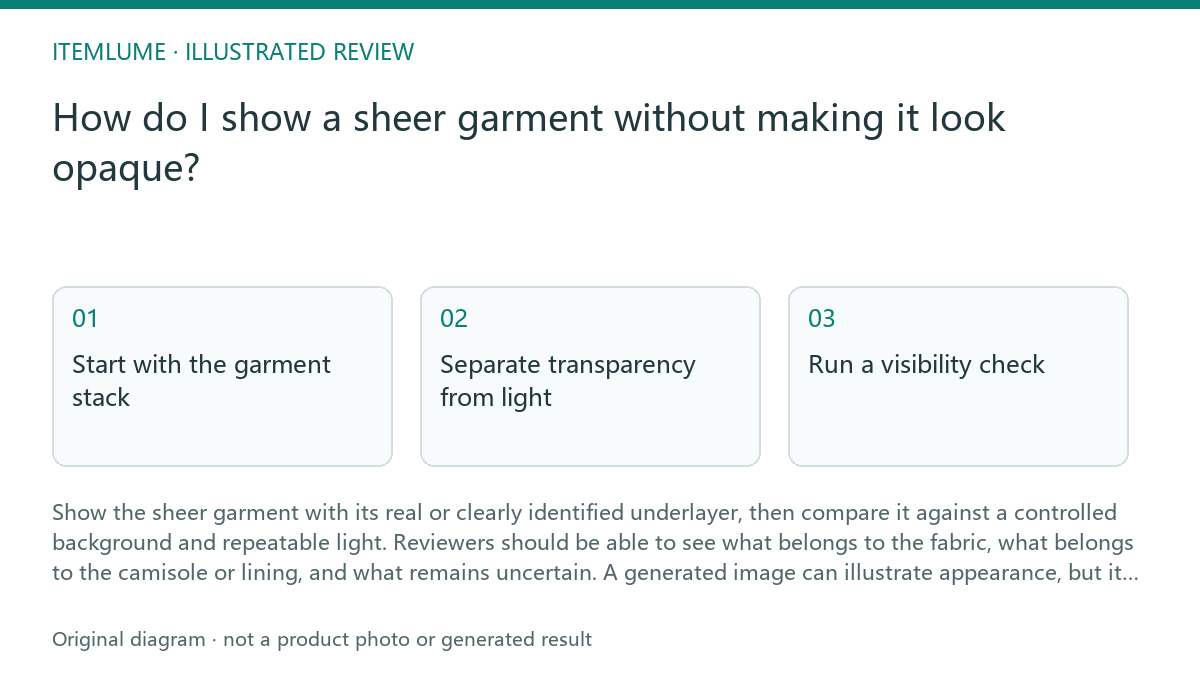
Start with the garment stack
A sheer garment should be reviewed as a stack: outer fabric, actual camisole or lining, skin or base layer, and background. If a mesh overshirt is worn over an opaque camisole, keep both visible. Do not remove the camisole digitally just to make the mesh appear more transparent, and do not let a generated inner layer stand in for a supplied garment detail.
Record the intended state before judging the image. Note whether the reference shows the overshirt open or closed, whether the camisole covers the same area, and whether the background is white, gray or dark. A white background can make an open mesh look less dramatic, while a dark background may exaggerate the visible holes; neither change should be mistaken for a change to the textile itself.
Separate transparency from light
Highlights, shadows and backlighting can make a sheer fabric look glossy, dense or almost invisible. Review the edge of the garment, the repeated mesh openings and the boundary between the overshirt and camisole. If the pattern disappears only in a bright highlight, that is a lighting question. If the openings close across the whole panel, inspect whether the image has invented a lining or flattened the texture.
For real reference photography, match garment state, pose and framing and change one background or lighting factor at a time. Keep the actual underlayer identified. Separate that physical comparison from reviewing independently generated candidates: a new generation can also change the mesh or lining, even when the request names only a background change. Compare those candidates back to the real references rather than treating their difference as a measurement of the fabric’s optical behavior.
Run a visibility check
A practical check should move from supplied evidence to image behavior: first identify the actual underlayer, then trace the garment edges, then inspect open areas and finally compare the lighting variants. Stop the review when the image cannot distinguish outer fabric from an invented inner surface. Mark the result as unresolved instead of describing the garment as opaque or reliably sheer.
Keep a short handoff record identifying the real source photograph, underlayer, fastening state and the regions that can be assessed. Mark any generated styling separately and leave uncertain coverage or lining unresolved. The checklist below organizes visible review; it is not a textile-opacity test or proof of comfort or breathability.
- Confirm the underlayer and fastening state.
- Trace the outer and inner garment boundaries.
- Inspect repeated sheer areas away from highlights.
- Compare light and dark background versions.
- Stop when opacity changes without evidence.
Write the review without overclaiming
Describe what the image shows, not what a person would necessarily experience while wearing it. “The white camisole remains visible through the mesh front” is an image observation. “The garment is comfortable, breathable or suitable for coverage” would require evidence outside the generated image. Likewise, a clean white-background result does not establish how the fabric behaves under movement or different lighting.
Keep unresolved points visible in the handoff. State whether the underlayer was supplied, whether the background was controlled, and which regions remain ambiguous. This protects the review from turning a styling image into a fit, coverage or performance claim.
Sheer garment review
| Observation | Next check | Pass condition |
|---|---|---|
| Camisole is visible through the mesh | Trace its neckline and side edges | Underlayer stays aligned with the supplied garment state |
| Mesh looks solid in one panel | Inspect repeated openings away from highlights | Texture remains open where the reference shows openness |
| Background changes the apparent coverage | For physical reference photos, compare controlled light and dark setups; review generated candidates separately against those references | Lighting changes do not invent or remove a lining |
| Inner surface is unclear | Return to the reference or mark unresolved | No unsupported claim about opacity or wear behavior |
| Garment edge merges with the body | Inspect edge contrast and silhouette | Outer fabric remains distinguishable from skin or base layer |
If shine makes the fabric appear solid in one view, use How to review fabric sheen and opacity in AI fashion images to inspect the material cues separately.
Sources and further reading
Recorded source-review dates are listed individually below. An undated source does not inherit the article’s publication date. Software and platform rules can change; check the current original before acting.
- CartVisual: editorial scope and evidence · Review date not separately recorded
- Photoroom: repeatable product image workflow · Review date not separately recorded
- Google Search Central: image publishing guidance · Review date not separately recorded
- FTC: Less than meets the eye? · Reviewed
Frequently asked questions
Should I remove the camisole to show transparency?
No. Keep the actual or clearly labeled underlayer visible. Removing it may create a misleading view of the layered outfit.
Does a white background prove that the garment is sheer?
No. Background and lighting affect visibility. Check the garment pattern, edges and underlayer across more than one controlled view.
Can the image prove how the garment feels or performs when worn?
No. It can document visible appearance, but it does not prove fit, comfort, breathability, coverage in motion or product performance.
PREPARE ASSETS FOR YOUR NEXT STEP
Create supporting product assets in CartVisual.
Create new product creative assets in the workspace, then continue in your chosen tools. Third-party software procedures described in this guide take place in those applications; this workspace link does not imply an integration. Check current capabilities, account access and credit quotes.
Explore asset creation tools Check pricing and credits