 CartVisual
Logo studio / PRACTICAL ANSWER
Why can my logo look sharp on screen but fail at the planned print size?
Check actual pixels and the physical output size. A resolution label or a large screen preview cannot establish print detail.
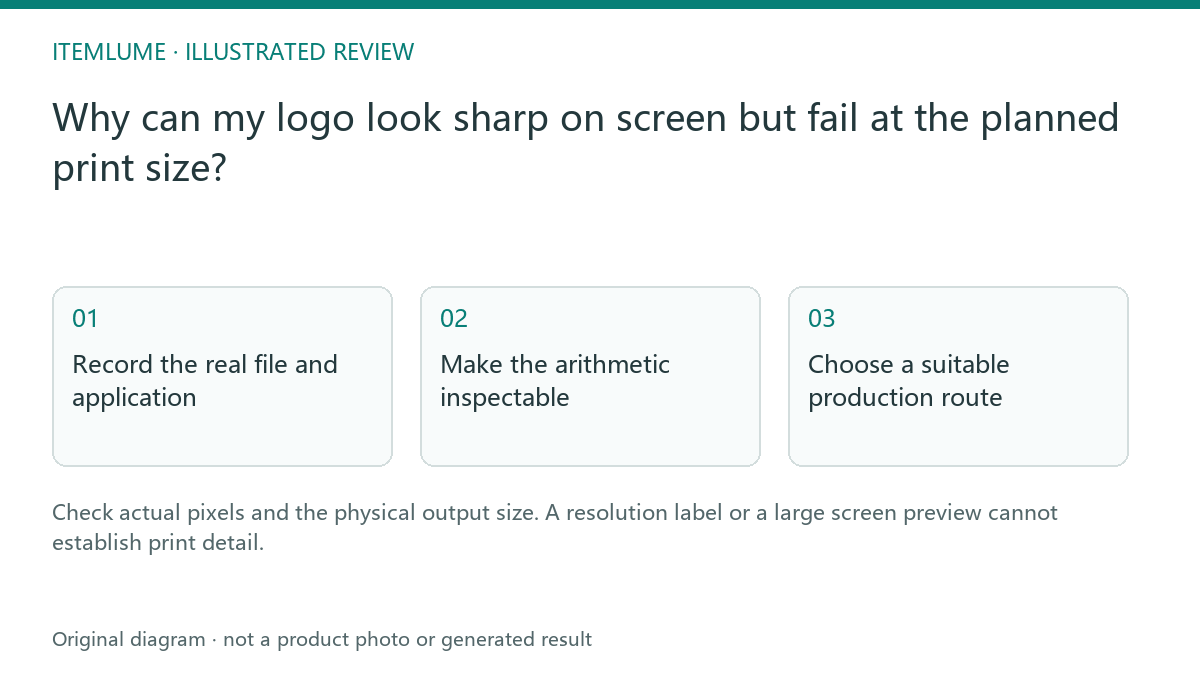
Record the real file and application
A fictional soap maker receives a 600-pixel-wide logo concept and wants a 20 cm sign. The concept looks crisp in a small browser card but must be enlarged substantially for the sign. Write the actual pixel width and intended physical width before asking the printer whether it is suitable. Do not use the preview card dimensions as the source file dimensions.
The issue differs from a blurry SVG containing a bitmap: here the approved deliverable is known to be raster. A higher embedded resolution label does not create additional captured or generated pixels.
Make the arithmetic inspectable
Fictional calculation: the source is 600 pixels wide and the intended printed image width is 20 cm. Convert physical width first: 20 ÷ 2.54 ≈ 7.874 inches. Effective image density is 600 ÷ 7.874 ≈ 76.2 pixels per inch (PPI). Check height too, and keep the intended aspect ratio.
| Question | Worked calculation | Meaning |
|---|---|---|
| What density at 20 cm? | 600 ÷ (20 ÷ 2.54) ≈ 76.2 PPI | The current width budget, not a universal production pass/fail. |
| If this supplier specifies 300 PPI, how wide can the same 600 pixels print at that density? | 600 ÷ 300 = 2 inches = 5.08 cm | A conditional supplier target, not a recommendation for every sign. |
| If that same 300 PPI target must cover 20 cm? | (20 ÷ 2.54) × 300 ≈ 2362 pixels across | An approximate required width; confirm the supplier’s rounding, bleed and production specification. |
These are mathematical examples, not printed proof results. PPI describes image pixels over physical size; printer DPI describes printer dots and is not interchangeable with this calculation. If “20 cm logo” refers to the visible mark rather than the full canvas, check the pixels across that mark. Transparent padding must not be counted as extra letter or edge detail.
Adobe’s image-size and resampling guidance explains the relationship: without resampling, changing print size/resolution preserves the pixel dimensions; resampling recalculates pixels. A new PPI label or interpolated larger file does not recover verified original logo detail. Ask the actual supplier about process, distance and proof requirements rather than treating one number as universal.
Choose a suitable production route
A simple selected logo may need a controlled vector redraw with typography review. A detailed raster illustration may need a larger appropriate source and a physical proof. Do not rename a PNG to SVG or repeatedly resample it and call it a vector master. Preserve the selected identity while the production designer prepares the agreed format.
If the application changes, repeat the size check. The original small-label approval does not automatically extend to a wall sign. If a file claims to be vector, first check whether the SVG still contains a bitmap; that is a different diagnostic from calculating this known raster source’s density.
Approve the real proof
Inspect a representative proof at the intended size and viewing distance. Check edges, lettering and recognizable gaps rather than the file extension alone. CartVisual supplies generated concept imagery and small-size review assistance; production suitability remains a separate designer/supplier decision. Save the proof and source version together.
Sources and further reading
Recorded source-review dates are listed individually below. An undated source does not inherit the article’s publication date. Software and platform rules can change; check the current original before acting.
- CartVisual: editorial scope and evidence · Review date not separately recorded
- Adobe: image size, resolution and resampling · Reviewed
Frequently asked questions
Does changing the DPI label add pixels?
No. Inspect actual pixel dimensions and intended physical size.
Is 76 pixels/inch a universal pass or fail?
No. It is this example’s arithmetic; confirm the supplier requirements.
Should a vector redraw retain the approved design?
Yes. Review shape and typography against the selected concept.
PREPARE ASSETS FOR YOUR NEXT STEP
Create supporting product assets in CartVisual.
Create new product creative assets in the workspace, then continue in your chosen tools. Third-party software procedures described in this guide take place in those applications; this workspace link does not imply an integration. Check current capabilities, account access and credit quotes.
Explore asset creation tools Check pricing and credits