 CartVisual
DIAGNOSTIC GUIDE / Logo studio
Why is my logo tiny inside a large empty box after SVG export?
Inspect the export’s drawing area before enlarging the logo. A tiny mark inside a huge SVG can come from oversized bounds or stray objects rather than a small approved design. Correct the delivery boundary on a copy and preserve the logo’s internal proportions. Compare the visible mark at identical display dimensions before changing any internal spacing.
Compare artwork bounds with the SVG viewport
Visible artwork, the artboard and the exported viewport are separate boundaries. An invisible or distant object can also affect some export selections. Cropping the surrounding space is different from changing clear space inside a brand lockup; the former repairs the resource, while the latter can change an approved identity.
Measure the visible mark and the outer drawing area separately. If the mark fills its artwork but occupies little of the exported viewport, enlarging the web element enlarges the empty margin too. That observation points to export bounds before it points to letter spacing.
Compare one shape in two viewBoxes
This synthetic diagram uses the same rectangle in equal display slots. Only viewBox changes: more surrounding coordinate space makes the mark smaller. It is geometry, not a customer logo or an observed Canva result.
The viewBox reference explains the user-space rectangle. Preserve a real logo’s approved protection space and check edge strokes, masks and effects rather than cropping every file tightly.
Find distant objects on a working copy
Open a working copy in the vector editor, show object boundaries, and compare selected artwork with the artboard. Check hidden or distant items before fitting the export area. Export a test and place it at the same intended slot as the original; inspect the visible mark, clipping and retained clear space.
Reveal the object list and inspect items outside the approved lockup. Determine whether each belongs to an alternate version, an intentional guide or accidental debris. Delete only confirmed extras from the copy, then fit the drawing boundary using the editor’s actual export behavior.
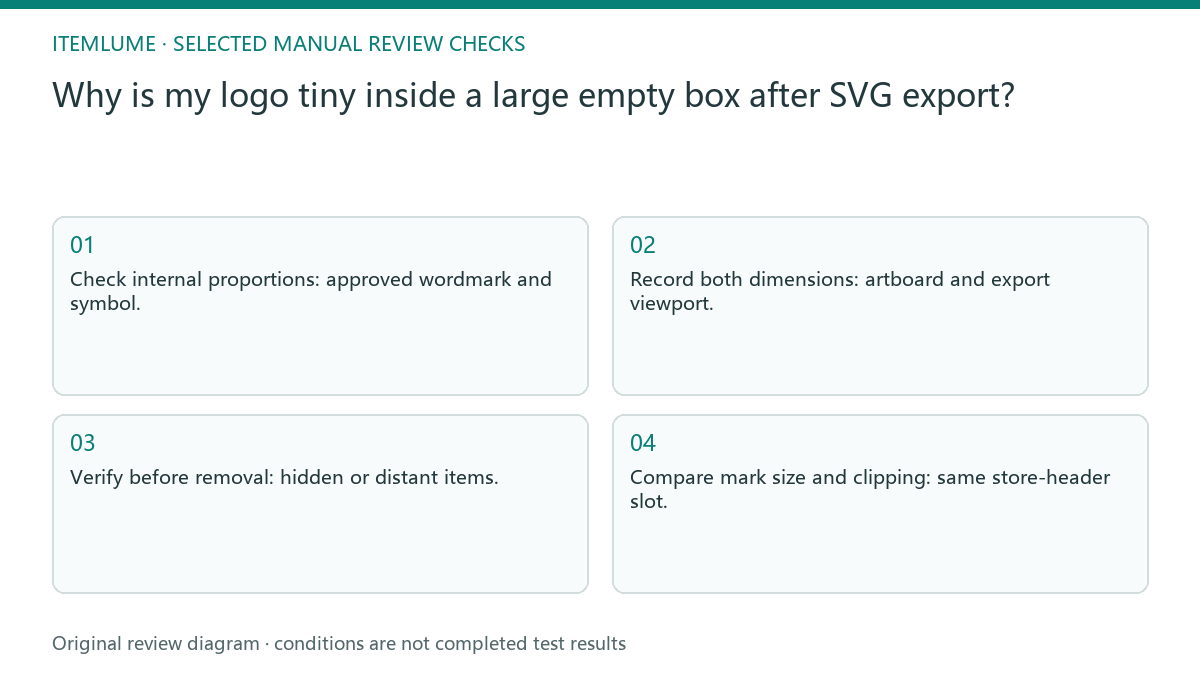
- Check internal proportions: approved wordmark and symbol.
- Record both dimensions: artboard and export viewport.
- Verify before removal: hidden or distant items.
- Compare mark size and clipping: same store-header slot.
Keep the same header slot for the comparison
Fictional exercise: a bakery wordmark appears tiny in a store header, while the vector artwork looks correctly proportioned. A distant empty object is found on the copy. Compare an export retaining that object with a cleaned, properly bounded export. Do not alter letter spacing simply to make the header fuller.
Place both test exports in the identical header dimensions and browser scale. Compare mark size, complete strokes and protection space. If a different slot or stylesheet was used, the comparison cannot isolate the SVG boundary problem.
Separate resource padding from page layout
Open the same SVG by itself before changing the master. If it fills its own intended bounds but is tiny only in the header, inspect the page image box, CSS sizing and layout. If the margin is present in the standalone resource, investigate export bounds and confirmed stray objects.
Keep the same header slot for the retest. A larger CSS width can hide a resource issue, while a new crop can damage a correct asset when the real cause is page layout. Record which layer changed.
Preserve the approved logo lockup
Stop when cleaning the boundary clips a symbol, removes intended clear space or changes the approved lockup. Restore the copy and resolve the exact export selection first.
A tightly bounded resource still needs the approved clear space when placed. Resource repair must not become a new brand-layout decision without review. A vector editor controls the SVG resource. CartVisual logo concepts are raster candidates requiring review; this diagnostic does not convert a raster concept into a clean editable vector.
Visible artwork to destination test: decision worksheet
| Check | Evidence to record | Review action |
|---|---|---|
| Visible artwork | Approved wordmark and symbol | Check internal proportions |
| Canvas boundary | Artboard and export viewport | Record both dimensions |
| Extra objects | Hidden or distant items | Verify before removal |
| Destination test | Same store-header slot | Compare mark size and clipping |
Use this matrix as a manual review record and add your own real evidence. Its conditions are not completed test results.
Sources and further reading
Recorded source-review dates are listed individually below. An undated source does not inherit the article’s publication date. Software and platform rules can change; check the current original before acting.
- CartVisual: editorial policy and product scope · Review date not separately recorded
- Canva: File upload formats and requirements · Reviewed
- Mdn Viewbox · Reviewed
Frequently asked questions
Should I stretch the logo to fill the header?
No. First inspect the SVG viewport and stray objects; stretching can damage approved proportions without fixing empty bounds.
Can a raster logo become editable by this fix?
No. Boundary cleanup addresses an existing vector resource and does not create vector paths from a raster concept.
How do I know the cleanup went too far?
Clipped strokes, changed spacing or missing clear space are rejection signals. Restore the copy before another export.
PREPARE ASSETS FOR YOUR NEXT STEP
Create supporting product assets in CartVisual.
Create new product creative assets in the workspace, then continue in your chosen tools. Third-party software procedures described in this guide take place in those applications; this workspace link does not imply an integration. Check current capabilities, account access and credit quotes.
Explore asset creation tools Check pricing and credits