 CartVisual
DIAGNOSTIC GUIDE / Packaging studio
Why is there a thin white gap between two colors on printed packaging?
A white gap between printed colors can come from the artwork, a screen display artifact, or imperfect registration between ink plates. Compare the original file, PDF, and physical proof before adding a stroke. If trapping is needed, have the printer specify its treatment for the actual material and press rather than choosing a universal width.
Identify where the white line first appears
Look at the design file with relevant layers visible. If a genuine white object or empty space separates the colors, it is an artwork decision. If the line appears only in a PDF viewer and changes with zoom, investigate display or flattening before editing the production design.
If the line appears in a physical sample, record how that sample was produced and whether it represents the intended press, substrate and separations. A digital contract proof may demonstrate appearance without reproducing registration behavior of a later multi-plate press run. Mark the exact boundary and keep the matching PDF; ask the printer to distinguish a file seam, proof-rendering fault and actual production registration issue. A phone photo helps locate the line but cannot set trap width or certify production alignment.
Discuss registration and trapping with the printer
Adobe explains trapping as overlap that helps compensate when adjacent printed colors do not align perfectly. That principle does not determine the correct width for every paper, ink, substrate, or press. Ask the printer to examine the separation and recommend whether the issue needs artwork changes or production adjustment.
Do not cover the white gap with a random dark outline. That can change the approved design, thicken lettering, and introduce a visible border. Ask which object should spread or choke, what treatment is intended, and who owns the final production correction. Keep those instructions with the approved proof.
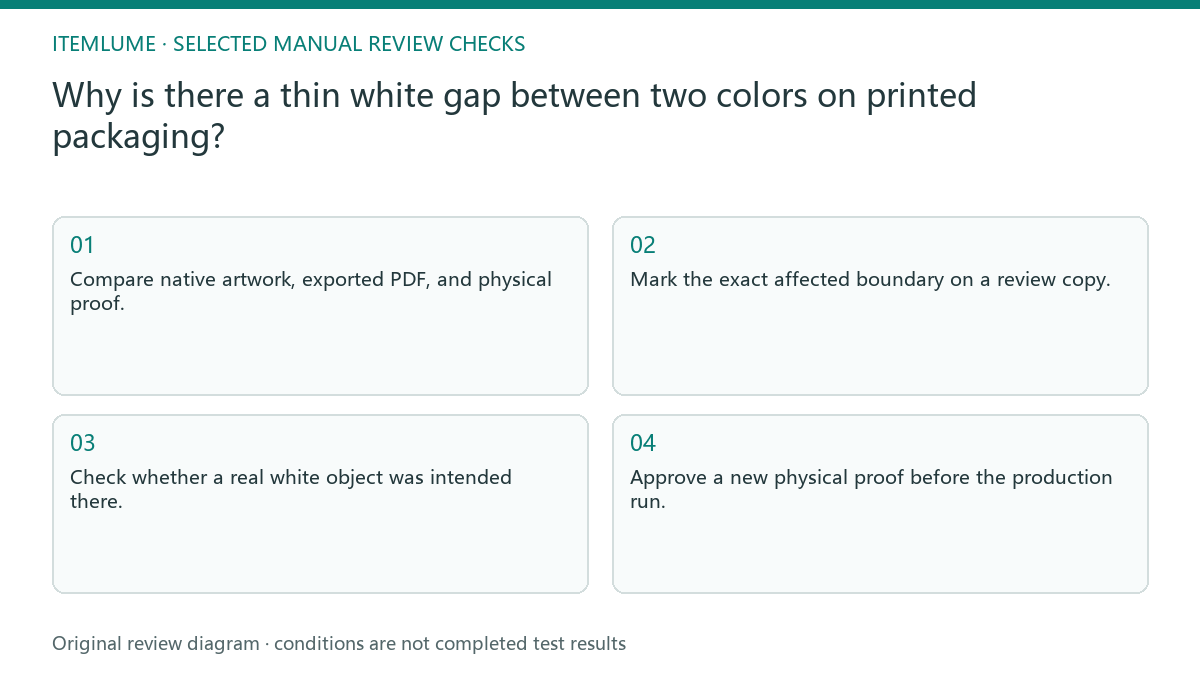
- Compare native artwork, exported PDF, and physical proof.
- Mark the exact affected boundary on a review copy.
- Check whether a real white object was intended there.
- Ask the printer to review registration and trapping requirements.
- Approve the specified proof for its stated purpose, and have the printer confirm registration/trapping on a sample representative of the actual production process.
A fictional two-color carton
Fictional exercise: an amber panel touches a dark-blue panel on a small carton. The native design contains no white divider, while a sample produced under the fictional job’s specified print process shows a pale gap on one edge. The seller sends the proof and matching PDF to the printer, describing the location without prescribing an arbitrary trapping width.
The printer’s proposed correction becomes a separate proof version. Compare the color boundary and nearby type against the original approved layout. If the gap closes but the small text changes, do not approve automatically. This exercise has no real press result; acceptance requires the actual supplier’s proof and written treatment.
Keep concept approval separate from print approval
An CartVisual packaging concept can communicate composition, color blocks, and visual direction. It is not a printer-approved dieline or a verified separation file. A clean mockup cannot prove registration, total ink coverage, trapping, or substrate behavior in a production run.
Stop sending the same unmodified file when the same physical gap recurs. Resolve the responsible source with the printer, then record the corrected file name and proof approval. Do not hide the defect in campaign photos and call the package ready; the customer receives the physical print, not the mockup.
Locate the origin of the gap
| Where the line appears | Next evidence | Decision |
|---|---|---|
| Native design contains white | Inspect white shape or space | Confirm intentional design |
| PDF only; changes with zoom | Compare another rendering | Investigate display seam |
| Physical proof boundary displaced | Review plate alignment with printer | Printer specifies correction |
| Correction changes small type | Compare corrected physical proof | Hold approval until both pass |
Use this matrix as a manual review record and add your own real evidence. Its conditions are not completed test results.
Sources and further reading
Recorded source-review dates are listed individually below. An undated source does not inherit the article’s publication date. Software and platform rules can change; check the current original before acting.
- CartVisual: editorial policy and product scope · Review date not separately recorded
- Adobe Illustrator: Trapping · Reviewed
- Adobe Acrobat Pro: Previewing output · Reviewed
Frequently asked questions
Is every white line a trapping problem?
No. It may be an intended gap or a display artifact. Identify the first stage where it appears.
Can I choose one trapping width for all packaging?
No. Ask the production supplier for the actual material and process requirements rather than reusing an arbitrary number.
Does a good mockup prove print readiness?
No. Identify what a proof represents: a visual or digital contract proof does not necessarily reproduce final press registration. Have the supplier check the required production files, proof purpose and process-representative sample separately from the concept.
PREPARE ASSETS FOR YOUR NEXT STEP
Create supporting product assets in CartVisual.
Create new product creative assets in the workspace, then continue in your chosen tools. Third-party software procedures described in this guide take place in those applications; this workspace link does not imply an integration. Check current capabilities, account access and credit quotes.
Explore asset creation tools Check pricing and credits