 CartVisual
PRACTICAL ANSWER / A+ product pages
How do I stop shoppers thinking the props in my lifestyle photo are included?
Name what the shopper receives wherever the lifestyle image appears, not only in an FAQ. Identify the vase as the item for sale and label the flowers and matching tray as not included. Then check the main image, nearby copy and any comparison or detail images together for conflicting cues.
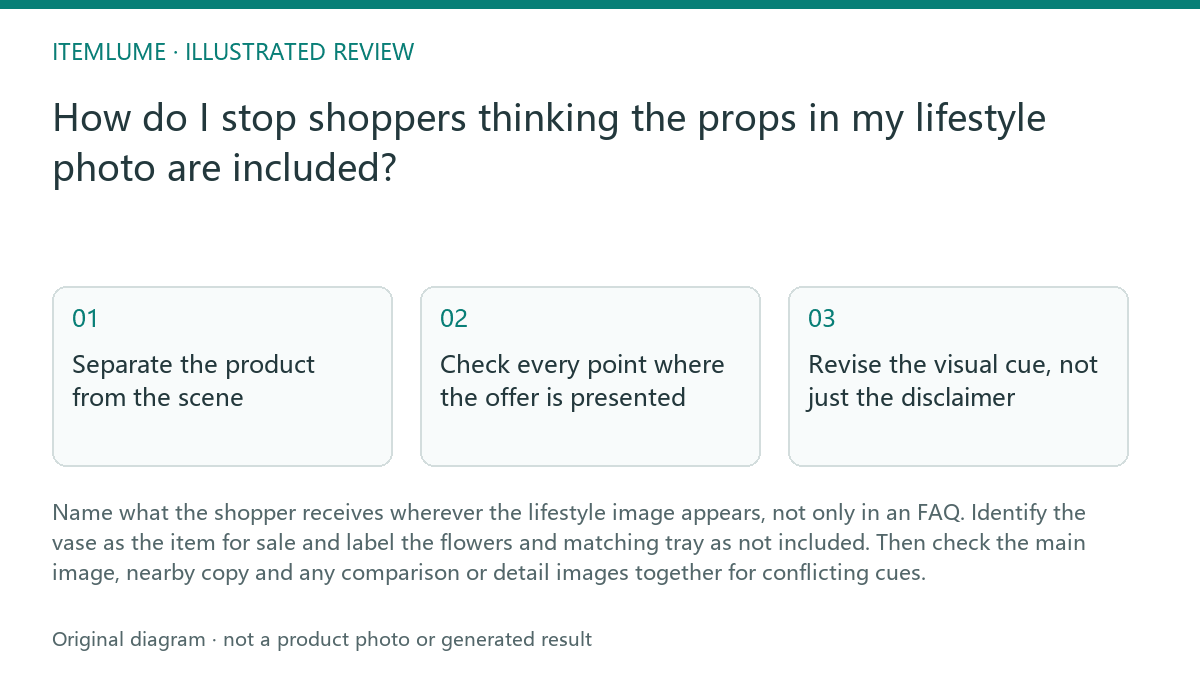
Separate the product from the scene
Start with the offer, not the photograph. List each item included in the purchase, including any accessories, and list the decorative objects used only to stage the scene. For this example, the vase is sold; the flowers and matching tray are props. If an item is included only in some options, name the relevant option rather than making a general claim.
Review the image at the size shoppers are likely to see it. A prop can look like a coordinated set when its color, placement or styling visually links it to the product. Use a clear nearby label such as “Vase only; flowers and tray not included.” Keep the label legible and close enough to the image that the relationship is unmistakable.
Check every point where the offer is presented
A disclaimer in an FAQ may be missed by someone deciding from the main image or first product description. Put the inclusion distinction beside the lifestyle image and make the product copy consistent: describe the vase’s features without suggesting the flowers or tray come with it. Check image captions, comparison graphics and option names too.
The sequence below is an editorial review, not a guarantee that a marketplace accepts added text or staged props. FTC disclosure guidance emphasizes that qualifications should be clear and close to the relevant claim. Use a visible adjacent caption or product copy where the destination allows it. For example, eBay restricts added text and marketing material in listing photos, so do not burn a disclosure into an image without checking the destination rules. If the scene remains misleading or the placement does not allow a clear qualification, remove the prop or use a product-only image.
- Write the confirmed contents for the exact sellable option before styling the scene.
- Mark each visible object as supplied merchandise, optional accessory, or demonstration prop.
- Read the image and its nearby caption without opening the FAQ; confirm that the inclusion statement is understandable.
- Repeat the check across the remaining images and options; stop approval when any object has an unresolved selling role.
Revise the visual cue, not just the disclaimer
If shoppers could still read the scene as a set, simplify it. Move the tray away from the vase, reduce the number of props, or use a separate detail image that shows the vase alone. Keep the product prominent, but do not rely on visual prominence to explain what is included. The label and copy still need to state the distinction plainly.
Avoid vague wording such as “accessories shown” when it does not identify which items are excluded. Do not call the tray optional unless shoppers can actually select or purchase it as an option. If the listing offers multiple configurations, use a separate, accurate inclusion statement for each one and avoid reusing a lifestyle image that depicts a different configuration without a clear label.
Review with a stop condition
Ask someone unfamiliar with the listing to look at the main image and nearby copy, then answer: what is for sale, and what arrives with it? Treat uncertainty about the flowers or tray as a failed review, even if the FAQ is accurate. Revise the image or adjacent copy and repeat the check.
Stop when the exact option’s included items are explicit beside the lifestyle image, the first product copy does not imply extra items, and every other image or option label agrees. This review can reduce ambiguity in the listing; it cannot establish how every shopper will interpret an image or prove product performance.
Lifestyle image inclusion review
| Observation | Next check | Pass condition |
|---|---|---|
| Vase, flowers and tray appear together | Compare each visible object with the exact option’s included-item list | Vase is identified as sold; flowers and tray are identified as props |
| Main image shows the full styled scene | Read the image and its nearby copy without opening the FAQ | A shopper can tell the tray and flowers are not included |
| Another image shows the tray beside the vase | Check its caption, labels and any bundle or option wording | No image or label implies the tray is part of the purchase |
| Listing has more than one vase option | Compare the disclosure with each option’s actual contents | Each option has an accurate, distinct inclusion statement |
For a scene showing several actual sellable units, check How to make accurate multipack and bundle product images before calling the offer a multipack or bundle.
Sources and further reading
Recorded source-review dates are listed individually below. An undated source does not inherit the article’s publication date. Software and platform rules can change; check the current original before acting.
- CartVisual: editorial scope and evidence · Review date not separately recorded
- Shopify: AI-written product description review · Review date not separately recorded
- FTC: Full Disclosure · Reviewed
- eBay: Picture policy · Reviewed
Frequently asked questions
Should I put “props not included” only in the FAQ?
No. Put a clear disclosure beside the lifestyle image and keep the main product copy consistent; an FAQ can provide supporting detail.
Can I call the tray optional?
Only if shoppers can actually choose or purchase it as an option. Otherwise, identify it as a prop that is not included.
What should I do if the scene still looks like a set?
If the scene still implies a bundle, remove the props or replace it with a product-only image. A caption is useful only where allowed and when it actually resolves the impression; it cannot make a misleading main image acceptable.
PREPARE ASSETS FOR YOUR NEXT STEP
Create supporting product assets in CartVisual.
Create new product creative assets in the workspace, then continue in your chosen tools. Third-party software procedures described in this guide take place in those applications; this workspace link does not imply an integration. Check current capabilities, account access and credit quotes.
Explore asset creation tools Check pricing and credits