 CartVisual
PRACTICAL ANSWER / Virtual try-on
Should my clothing size chart show body measurements or garment measurements?
Use body measurements when the chart describes the wearer the size is intended for; use garment measurements when it records the clothing itself. You can provide both, but label them separately and explain the measuring method. A chest value without that distinction cannot reliably guide a purchase, and an AI model image cannot resolve it.
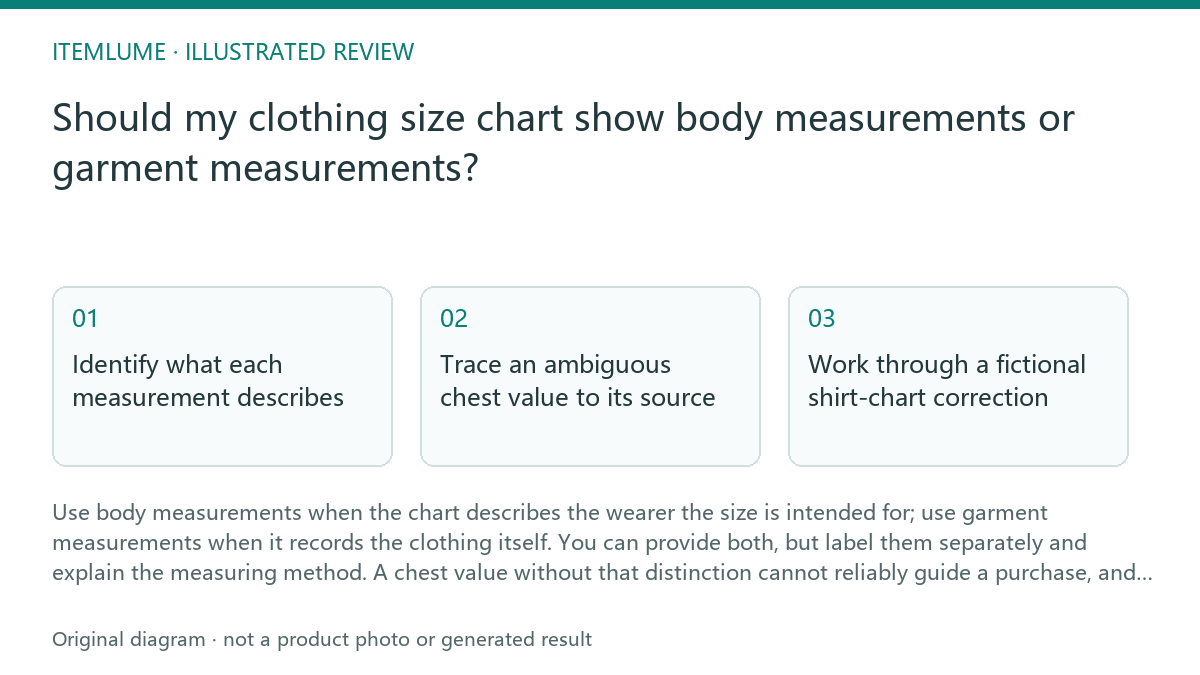
Identify what each measurement describes
Body chest circumference measures the wearer; a finished-garment chest measurement measures the clothing. UNIQLO distinguishes body and product measurements and describes its product measurements as finished garments measured flat. Use that as an example of why the labels matter, not as a measurement standard for every brand. Identify whether this SKU’s record is a flat underarm width or a circumference before publishing a value.
Start with the supplier’s measurement specification and the sample record. Check whether the chart describes intended body ranges, finished garment dimensions, or a mixture. Rewrite each heading accordingly: “Body chest circumference” or “Garment chest circumference.” If the source does not establish the meaning, pause size recommendations until it does.
Trace an ambiguous chest value to its source
Diagnose the ambiguity before changing the number. Follow this sequence using the chart, its source notes and the relevant physical sample. A product photograph can help identify the sample, but perspective and styling cannot establish a dependable measurement.
Stop if you cannot confirm the measurement type, unit, sample size or method. Mark the entry as awaiting verification instead of converting it into a body range. Even a confirmed garment circumference leaves intended ease unknown unless separate fit documentation explains it.
- Locate the original measurement record and match it to the garment style and labeled sample size.
- Confirm whether the tape measured a body, a flat garment width or the garment circumference.
- Record the measuring points and garment state, including fastenings and whether fabric was stretched.
- Check that the published heading, unit and any width-to-circumference calculation match that record.
Work through a fictional shirt-chart correction
Fictional exercise: a shirt chart says “Chest: 110 cm,” while its sample sheet records an underarm flat width of 55 cm. The shirt was buttoned, laid flat and measured without stretching. For this method, doubling the width gives the recorded garment chest circumference. Change the chart heading to “Garment chest circumference” and include the method.
In the same fictional exercise, a shopper reports a body chest circumference of 96 cm. Subtracting it from the garment circumference gives a nominal difference of 14 cm. That arithmetic does not establish suitable ease or a recommended size: shoulder shape, armholes, fabric behavior and the intended silhouette remain unresolved. Offer comparison with a similarly measured shirt the shopper already finds comfortable.
Publish clear labels without inventing fit guidance
If verified body ranges and garment dimensions are both available, present separate tables or clearly separated columns. Give each its own measuring instructions. For garment dimensions, identify flat width versus circumference and describe the measurement points. Publish tolerances only when supported by the supplier’s records; do not invent a margin to cover missing evidence.
Treat this as a copy and evidence review workflow. AI model imagery, including imagery used alongside CartVisual planning, does not supply size advice or prove fit. Keep silhouette descriptions separate from size recommendations. For applying a sample record across sizes, read the garment size-grading evidence guide; a correctly labeled value still needs evidence for every size it represents.
Size-chart review: pass only when the evidence matches
| Observation | Next check | Pass condition |
|---|---|---|
| The chest column has no measurement type. | Read the original body or sample measurement record. | Pass: heading identifies body or garment. Fail: meaning remains inferred. |
| A flat width is presented as circumference. | Verify measuring points and the recorded conversion method. | Pass: width and circumference are correctly distinguished. Fail: an unexplained conversion remains. |
| A garment dimension is used to recommend a body size. | Look for documented intended body ranges and ease guidance. | Pass: recommendation has fit documentation. Fail: subtraction alone supports it. |
| A modeled image appears beside the chart. | Review captions for implied fit guarantees. | Pass: imagery supplies no unsupported size advice. Fail: appearance is treated as fit evidence. |
Sources and further reading
Recorded source-review dates are listed individually below. An undated source does not inherit the article’s publication date. Software and platform rules can change; check the current original before acting.
- CartVisual: editorial scope and evidence · Review date not separately recorded
- Photoroom: repeatable product image workflow · Review date not separately recorded
- Google Search Central: image publishing guidance · Review date not separately recorded
- UNIQLO UK: How to choose your size · Reviewed
Frequently asked questions
Can customers compare the chart with clothing they own?
Yes, when the chart contains garment measurements and both garments are measured at the same points in the same state.
Should I convert every flat width into circumference?
Only when the measurement method supports that conversion. Retain the original flat-width label if the garment’s shape or construction makes doubling misleading.
What if the supplier only provides size labels?
Request measurement records before adding dimensions or body ranges. Keep the supplied labels without inventing a measurement-based recommendation.
PREPARE ASSETS FOR YOUR NEXT STEP
Create supporting product assets in CartVisual.
Create new product creative assets in the workspace, then continue in your chosen tools. Third-party software procedures described in this guide take place in those applications; this workspace link does not imply an integration. Check current capabilities, account access and credit quotes.
Explore asset creation tools Check pricing and credits