 CartVisual
DIAGNOSTIC GUIDE / Product videos
Should I fix the lighting or regenerate a product video with source LED banding?
Inspect the original camera footage before regenerating the product. Moving horizontal bands under LED lighting can originate in the capture conditions; a generated label flicker or a compressed gradient is a different problem. Keep the actual camera model and light conditions in the review record. A controlled source comparison is more informative than another unreviewed generation of the clip.
Look for moving bands in the source footage
A temporal band can change position between original frames while the physical object remains unchanged. That behavior points to a capture-stage investigation, not proof of a faulty AI prompt. Camera-specific anti-flicker guidance cannot be reduced to one shutter value that works for every light and frame rate.
Compare several original frames before any generation or compression. A band that moves across a stable body differs from a model rewriting label shapes. Also inspect whether the stripe follows the lighting region or stays fixed on the object; these observations help route the investigation without proving a cause.
Repeat a controlled camera-and-light trial
Compare several original frames, then repeat a short controlled shot of the same product under a verified alternative light condition. Record the camera’s actual exposure and frame settings, consult its official manual, and compare whether the band behavior changes. Keep product lettering fixed so motion artifacts are not confused with rewritten text.
Consult the exact camera manual and record actual frame and exposure settings. Repeat the same product shot while changing one verified lighting condition. Do not offer one shutter number for every fixture or assume an anti-flicker mode behaves identically across camera models.
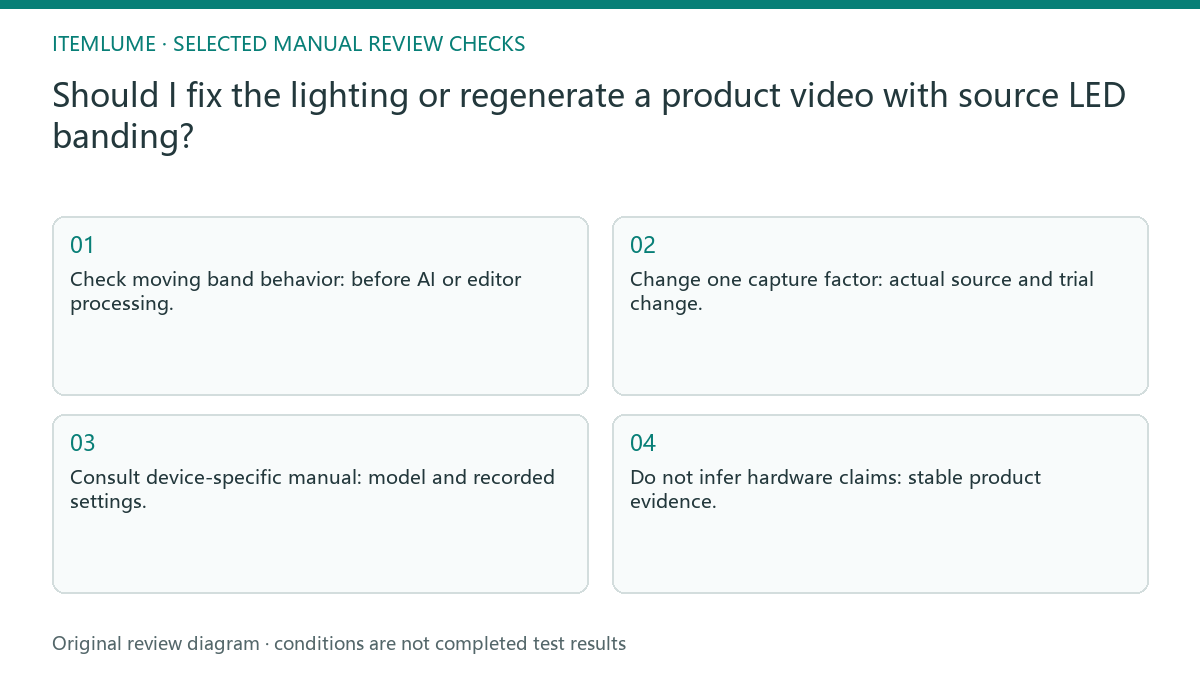
- Check moving band behavior: before AI or editor processing.
- Change one capture factor: actual source and trial change.
- Consult device-specific manual: model and recorded settings.
- Do not infer hardware claims: stable product evidence.
Log the capture trial and alternative causes
The EOS R5 manual warns about fluorescent/LED movie flicker and separately notes a low-light focusing-related horizontal-banding case. That is why a horizontal stripe is not sufficient to identify one lighting cause or prescribe a universal shutter speed. The manual applies to that camera; consult the actual device when it differs.
Retain a short trial ledger: original file and frame interval, camera/lens model, frame rate, exposure and focus settings, light source and any known dimming state, the one factor changed, and the observed band behavior. Keep framing and product identity stable for the comparison and record other settings that changed automatically. A cleaner trial narrows the investigation for that setup; it does not certify the fixture as flicker-free.
Compare consecutive original frames, the new capture and any processed output as distinct files. If the effect begins only after a processing step, investigate that stage. If the captured stripe changes with focus behavior rather than the lighting trial, preserve that observation and consult the device-specific guidance before editing the product surface away.
A lamp body with stripes only in moving footage
Fictional exercise: a desk-lamp body has sliding dark stripes in camera footage, but a still photograph is clean. The operator compares original frames and a controlled lighting trial before using it as video reference. No claim is made that the lamp itself is flicker-free or that one parameter cures every setup.
In the fictional lamp trial, compare the stripe’s position in the original frames and the controlled reshoot. A clean still alone cannot approve motion reference, because it does not show how the band changes over time. Keep the label readable in both comparisons. If bands are absent in the original but appear only after generation, preserve both clips and investigate that processing stage. That comparison is not a lighting diagnosis. A stripe fixed on the real object may instead be part of its appearance and must not be erased without evidence.
Do not turn a visual fix into a hardware claim
Stop if the source cannot record stable, readable product evidence under the available setup. Resolve the capture conditions before treating the clip as an authoritative reference.
If source bands remain unresolved, request suitable new reference footage. Asking a generator to smooth the clip may conceal evidence rather than diagnose the capture issue. The photographer handles camera and lighting trials. CartVisual cannot certify LED behavior or reconstruct unreadable source evidence by asking the generator to smooth it away.
Original frames to reference acceptance: decision worksheet
| Check | Evidence to record | Review action |
|---|---|---|
| Original frames | Before AI or editor processing | Check moving band behavior |
| Light condition | Actual source and trial change | Change one capture factor |
| Camera setup | Model and recorded settings | Consult device-specific manual |
| Reference acceptance | Stable product evidence | Do not infer hardware claims |
Use this matrix as a manual review record and add your own real evidence. Its conditions are not completed test results.
Sources and further reading
Recorded source-review dates are listed individually below. An undated source does not inherit the article’s publication date. Software and platform rules can change; check the current original before acting.
- CartVisual: editorial policy and product scope · Review date not separately recorded
- Canon EOS R5: General Movie Recording Precautions · Reviewed
Frequently asked questions
Does a clean still rule out video banding?
No. Inspect original consecutive frames and a controlled motion trial.
Should I use one recommended shutter for all LEDs?
No. Consult the exact camera and actual lighting conditions.
Does a smoother generated clip certify the lamp?
No. Visual smoothing is not a hardware test or flicker-free certification.
PREPARE ASSETS FOR YOUR NEXT STEP
Create supporting product assets in CartVisual.
Create new product creative assets in the workspace, then continue in your chosen tools. Third-party software procedures described in this guide take place in those applications; this workspace link does not imply an integration. Check current capabilities, account access and credit quotes.
Explore asset creation tools Check pricing and credits