 CartVisual
DIAGNOSTIC GUIDE / Product videos
Why is my phone footage blown out next to the generated product video?
Identify the phone clip’s color interpretation before grading it to match generated footage. Mixed HDR and SDR materials can look different in one sequence because of input and output handling. Preserve the originals and test a defined color-management route instead of judging only the preview monitor. The diagnosis follows one representative frame through the actual viewing and delivery route.
Locate the color-space change before regrading
An exposed-looking image can come from a mismatch in interpretation, not an overexposed camera original. A creative exposure correction applied before that distinction can damage usable highlight information or shift brand colors. Input identification, working space and intended delivery need separate entries.
Record the file’s stated color interpretation rather than guessing HDR from vividness. The viewing application, timeline interpretation and export can each change appearance. Compare a neutral reference object as well as the product so a display-wide shift is distinguishable from a local color edit.
Compare source, timeline and exported frame
Inspect the source clip metadata and the editor’s actual interpretation. Record the generated clip’s delivery characteristics separately. Choose the intended output with the editor’s current color-management guidance, compare unchanged source and correctly interpreted preview, and review a short export in the planned viewing environment before grading the whole ad.
In the external editor, check how each source is interpreted and how the SDR delivery is produced. Save representative source and exported frames with their context. Avoid prescribing one brightness adjustment for every camera, generated source or platform preview.
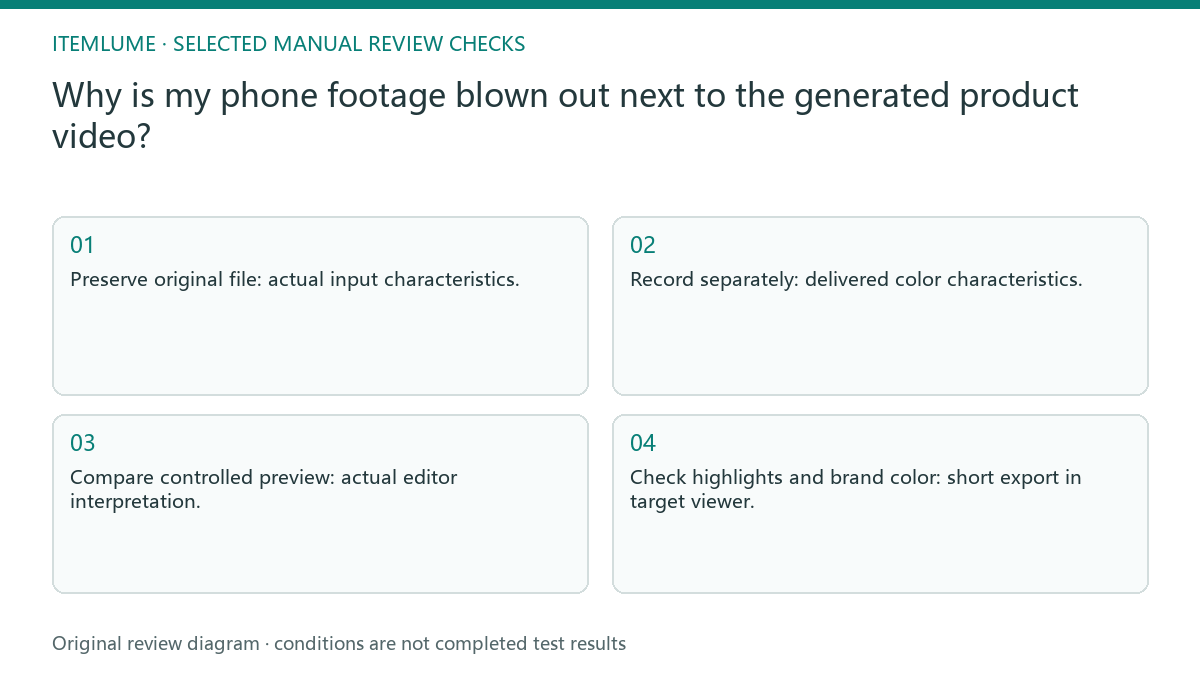
- Preserve original file: actual input characteristics.
- Record separately: delivered color characteristics.
- Compare controlled preview: actual editor interpretation.
- Check highlights and brand color: short export in target viewer.
Record input, output and the conversion already applied
Read the actual clip’s color metadata and the editor’s interpretation. Do not infer that every phone source is HDR or that every generated clip is SDR. For a mixed-footage test, record each input interpretation, the sequence working space, the intended output space and where any tone mapping or input LUT is applied. Missing or contradictory metadata stays unresolved until checked.
Adobe’s Premiere Elements documentation gives a specific example of HLG footage being mapped into a Rec. 709 workflow. That example supports checking the conversion route; its automatic settings do not establish what another editor, version or CartVisual file has already done. Avoid adding a second conversion merely because the preview still looks bright.
Compare the same highlight and brand-color region before and after the documented route, using the editor’s appropriate scopes as well as its controlled display. A clipped-looking preview alone does not prove the original has lost highlight data. If actual source clipping is confirmed, preserve that finding instead of claiming tone mapping restored missing detail. Export a short unchanged test before making a creative grade.
A mixed HDR and SDR product sequence
Fictional exercise: a phone shot of an amber bottle looks blown out beside a generated studio shot. Both show the same approved product. The editor makes a diagnostic sequence documenting source interpretation and output choice, checks a short exported section, and only then adjusts exposure. The example has no prescribed universal brightness value.
The fictional sequence alternates a phone clip and a generated product shot. First establish which segment shifts in the final export, then compare the chosen conversion on that same segment. The exercise does not certify either source’s color accuracy or any platform playback pipeline. If the source and export agree in one viewer but not another, record that split instead of recoloring the product. Choose the intended delivery conditions with the editor and compare there; one agreeable preview cannot certify every device or service.
Reject a correction that falsifies the product color
Stop if the original genuinely has clipped highlights or if the viewing chain is undocumented. Color management cannot recover product evidence that the source did not record.
Approval requires readable highlights and a product color consistent with verified references under stated conditions. Keep a changed viewing condition separate from an actual edit. The editor handles color interpretation and tone mapping. CartVisual’s generated clip is one input asset, not an automatic mixed-footage color-finishing service.
Phone source to delivery review: decision worksheet
| Check | Evidence to record | Review action |
|---|---|---|
| Phone source | Actual input characteristics | Preserve original file |
| Generated source | Delivered color characteristics | Record separately |
| Working route | Actual editor interpretation | Compare controlled preview |
| Delivery review | Short export in target viewer | Check highlights and brand color |
Use this matrix as a manual review record and add your own real evidence. Its conditions are not completed test results.
Sources and further reading
Recorded source-review dates are listed individually below. An undated source does not inherit the article’s publication date. Software and platform rules can change; check the current original before acting.
- CartVisual: editorial policy and product scope · Review date not separately recorded
- Adobe Premiere: Color Management options · Review date not separately recorded
- Adobe Elements Color · Reviewed
Frequently asked questions
Can I fix washed-out color by increasing saturation?
That may hide a color-management error. Inspect the source interpretation and SDR delivery first.
Does a timeline preview prove the exported result?
No. Compare the exported frame under documented viewing conditions as well.
Who handles the conversion?
The external video editor controls color management; CartVisual does not certify the delivery pipeline.
PREPARE ASSETS FOR YOUR NEXT STEP
Create supporting product assets in CartVisual.
Create new product creative assets in the workspace, then continue in your chosen tools. Third-party software procedures described in this guide take place in those applications; this workspace link does not imply an integration. Check current capabilities, account access and credit quotes.
Explore asset creation tools Check pricing and credits