 CartVisual
DIAGNOSTIC GUIDE / Virtual try-on
How do I preserve velvet's real appearance in forward- and reverse-pile views?
A velvet garment can look different when the pile direction or viewing angle changes. Do not force every reference to one flat color without checking the real material. Supply matched photographs of the same SKU in the relevant directions, mark the lighting and pose, and review the generated appearance against those references. A picture alone cannot establish the fabric’s actual feel or quality.
Separate the SKU color from directional appearance
Confirm that both source photos show the same garment and variant. Record which one follows the pile and which one is viewed against it, as confirmed by the merchant. Different exposure or mixed lighting can also change appearance, so do not identify pile behavior from two unrelated online pictures.
Keep a neutral product photograph for overall color alongside the directional pair. These references answer different questions: which variant is being sold, and how that same material appears under a changed direction. Do not erase a documented directional effect merely to make every campaign image numerically identical.
Prepare a controlled reference pair
Use the same garment, comparable lighting, and a documented change of direction or viewpoint. Include enough surrounding construction to identify the panel being compared. A tiny anonymous texture swatch cannot establish how a sleeve or front panel relates to the finished garment.
Ask the merchant to describe only visible, confirmed behavior. Terms suggesting exceptional softness, luxury grade, or durability require their own evidence and are not established by a bright highlight. The image brief should preserve the documented pile direction without turning it into unsupported quality or tactile promises.
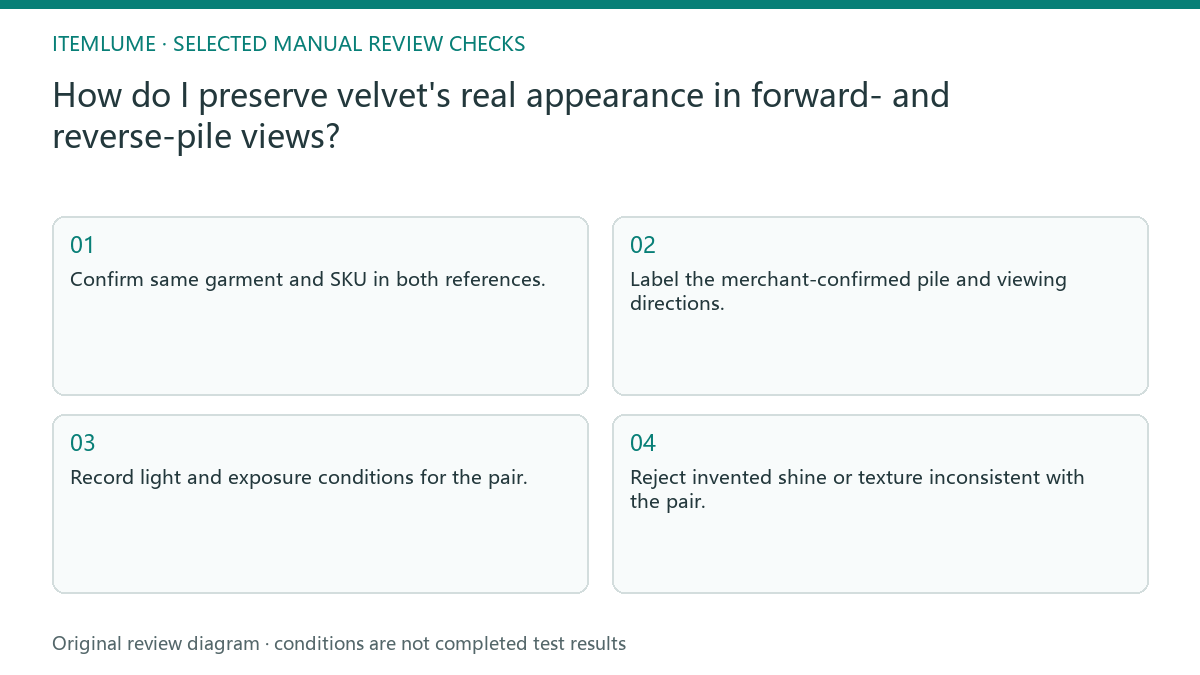
- Confirm same garment and SKU in both references.
- Label the merchant-confirmed pile and viewing directions.
- Record light and exposure conditions for the pair.
- Map the relevant panel onto the chosen model pose.
- Reject invented shine or texture inconsistent with the pair.
Label pile direction, camera position and light separately
A brighter sleeve beside a darker front panel does not by itself isolate pile as the cause: panel orientation, viewing angle and illumination also differ. For each source, annotate the same garment panel, a merchant-confirmed pile arrow, camera/view direction and lighting/exposure. Make these marks on a review copy, not on the garment.
| Field | Record for both references |
|---|---|
| Identity | Same physical garment, SKU and panel |
| Material direction | Confirmed arrow relative to seam or hem |
| Capture | Light position, camera position, exposure/white balance |
| Changed variable | What actually moved between the two photographs |
| Review limit | Visible behavior only; no tactile or durability conclusion |
Seamwork’s own fabric teaching explains that nap can change reflected appearance and that mixed cutting directions can show in a finished garment. That supports preserving directional references, not imposing a single brightness ranking on every velvet or certifying this SKU. Avoid mirroring a source merely to make arrows align: that can reverse seams, fastenings and other actual garment details.
A fictional velvet-jacket comparison
Fictional exercise: a green velvet jacket looks darker in a front reference and lighter when the sleeve is viewed against the pile. The merchant confirms both photographs show one SKU. The review retains that pair instead of selecting the brightest photo as the only correct color. No material test was conducted here.
If the generated sleeve becomes metallic or the entire jacket changes hue, compare the panel and direction separately. Request a clearer source or a simpler pose when the relationship cannot be verified. Stop trying to force a single swatch onto all folds; the goal is a supported representation, not uniform brightness.
Approve the garment view rather than a texture adjective
Review panel orientation, seam locations, and the documented lightness range together. A convincing fabric texture can still be placed on the wrong panel or conceal a garment detail. Keep the approved pose and real reference pair with the final asset so future campaigns can follow the same evidence.
CartVisual model imagery is a visual creative workflow, not a material-quality or fit test. It does not measure pile direction, hand feel, or garment performance automatically. Stop approval when the merchant cannot confirm the sources belong to the same item; re-labelling a visually similar jacket does not resolve that evidence gap.
Directional-material reference record
| Observation | Reference check | Approval condition |
|---|---|---|
| Two brightness levels | Same SKU and controlled pair | Both appearances supported |
| Metallic generated shine | Real directional highlights | No invented surface treatment |
| Panel direction changes | Seams and panel map | Orientation remains plausible |
| Quality adjective requested | Supplier evidence beyond image | Unsupported promise omitted |
Use this matrix as a manual review record and add your own real evidence. Its conditions are not completed test results.
Sources and further reading
Recorded source-review dates are listed individually below. An undated source does not inherit the article’s publication date. Software and platform rules can change; check the current original before acting.
- CartVisual: editorial policy and product scope · Review date not separately recorded
- Product photography tips(Adobe Express) · Reviewed
- Seamwork: Fabric Mistakes, directionality and nap section · Reviewed
Frequently asked questions
Should every view match one color value?
Not automatically. Check real directional behavior and exposure before imposing a flat value.
Do highlights prove softness?
No. Visible light behavior does not establish tactile quality or material performance.
Can unrelated photos form the pair?
They are weak evidence. Use the same verified SKU and record comparable conditions.
PREPARE ASSETS FOR YOUR NEXT STEP
Create supporting product assets in CartVisual.
Create new product creative assets in the workspace, then continue in your chosen tools. Third-party software procedures described in this guide take place in those applications; this workspace link does not imply an integration. Check current capabilities, account access and credit quotes.
Explore asset creation tools Check pricing and credits