 CartVisual
Product images / PRACTICAL ANSWER
Is my product really tapered, or did the camera distort the reference?
Compare the physical item and another controlled photograph before deciding whether a curved or tapered edge is a product feature.
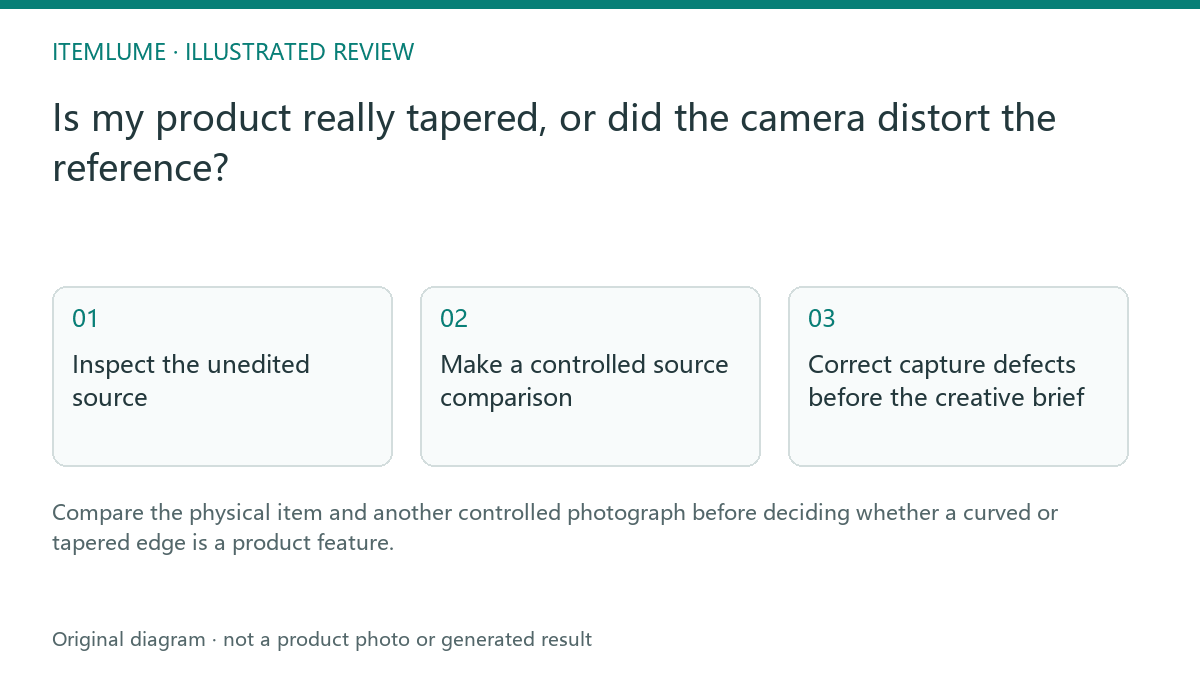
Inspect the unedited source
A fictional seller photographs a rectangular storage box close to a phone camera. The near edge looks much wider than the far edge, and straight surroundings also appear curved. Asking AI to preserve that silhouette may retain camera distortion; asking it to straighten everything may erase a real bevel. Start with the physical item and the original file rather than the generated candidate.
Adobe distinguishes lens distortion and perspective correction tools. That distinction provides diagnostic vocabulary. It does not tell you which geometry belongs to this particular merchandise.
Make a controlled source comparison
| Observation | Possible explanation | Evidence to gather |
|---|---|---|
| Near face much larger | Perspective from viewpoint | Another suitable camera distance |
| Straight surroundings curve | Lens distortion | Unedited frame and camera information |
| Same apparent taper in multiple views | Actual taper or repeated capture geometry; still unresolved | Physical measurement and side photograph |
Keep the product revision and orientation constant. A second picture of a different box does not resolve the geometry of the first. Do not use a generated side view as the sole independent confirmation.
Repeated similar photographs can repeat the same bias. Treat a measured lid/body relationship and a suitable physical side view as evidence; do not let agreement between two generated views settle the question. A moved camera also changes perspective, so record what changed rather than call every difference a lens defect.
Correct capture defects before the creative brief
If the source is unsuitable, take a clearer photograph or have a qualified editor perform restrained correction against the real item. Save both files and record the change. Avoid blindly applying a dramatic perspective transform until the label looks rectangular; that can distort the body and lid differently.
The brief should state the verified form and which camera effect was corrected. CartVisual has no dedicated lens-calibration workflow, so this preparation happens in photography or external editing.
Adobe’s current Lens Correction documentation separates optical bowing from perspective adjustments. It provides automatic lens-profile selection and manual controls, and warns about unintended scaling when changing perspective. Those tools correct an image; they do not measure the merchandise. Preserve the source, selected profile or settings and the correction result for comparison.
| Correction record | Inspect against real evidence | Reject or recapture if |
|---|---|---|
| Before/after source and settings | Lid, body edges, label and known dimensions | Straightening erases genuine taper or bevel |
| New image boundary | Crop, transparent area or extended edge | A required product part is invented or lost |
| Generated candidate | Same verified form and visible parts | A neat shape conflicts with the actual item |
Use the reference capture checklist before further generation. If the missing area is a blurred real detail, capture/stack decisions address a different fault.
Approve the generated geometry
Compare the new image with the corrected source and physical evidence. Check lid fit, edge directions and the relationship of near and far faces. A neat rectangle is not a pass if the sold box genuinely tapers. Record the accepted geometry so later scene variations do not repeatedly reinterpret the same capture defect as a design feature.
Sources and further reading
Sources for this page were checked on . Platform rules can change; verify the current source before publishing. Prompt examples and workflow recommendations are CartVisual editorial guidance, not independently measured results.
Frequently asked questions
Can straightening alter the merchandise?
Yes. Check any correction against real product geometry.
Is a generated alternate angle independent evidence?
No. Use actual photography or measurements.
Does CartVisual calibrate my lens?
No. Prepare an appropriate reference externally.
PREPARE ASSETS FOR YOUR NEXT STEP
Create supporting product assets in CartVisual.
Create new product creative assets in the workspace, then continue in your chosen tools. Third-party software procedures described in this guide take place in those applications; this workspace link does not imply an integration. Check current capabilities, account access and credit quotes.
Explore asset creation tools Check pricing and credits