 CartVisual
PRACTICAL ANSWER / Product images
Does changing a product photo from 72 DPI to 300 DPI make it sharper online?
No. Changing a photo’s DPI tag from 72 to 300 does not add detail when the pixel dimensions and image content stay the same. Online sharpness depends mainly on the delivered pixels, scaling, compression, focus, and the screen—not the print-density value stored in the file.
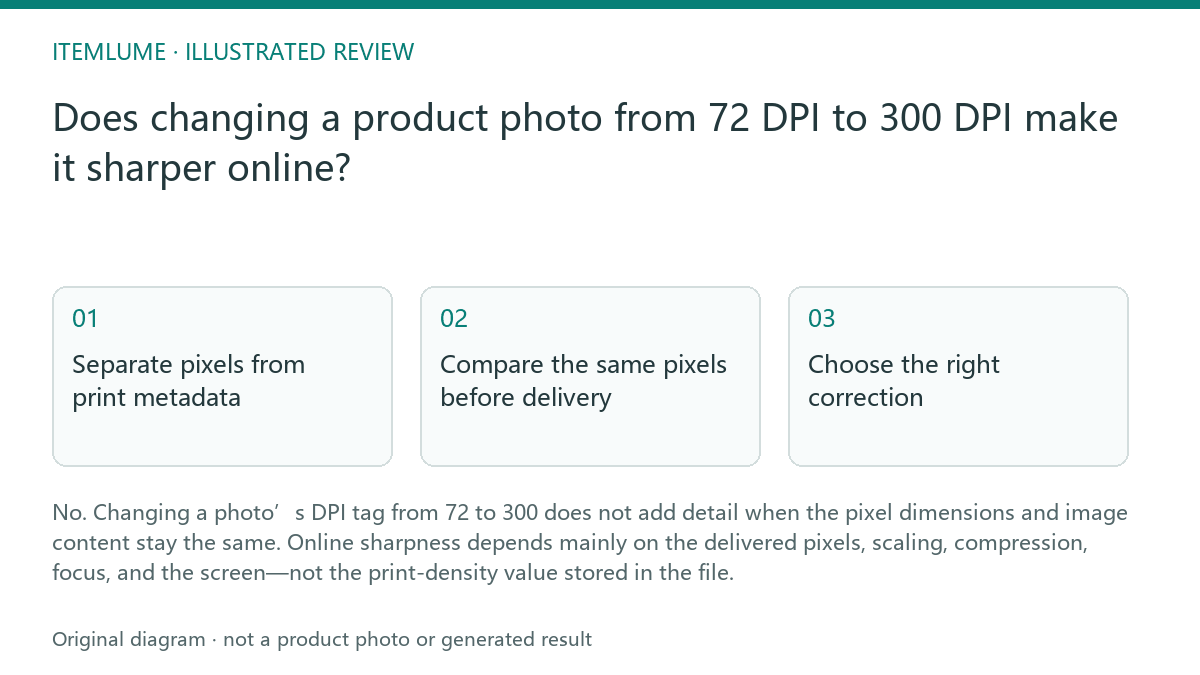
Separate pixels from print metadata
In this question, “DPI” means the image-density tag people often use for print preparation. Image editors usually express photograph resolution as pixels per inch (PPI); printer dots per inch is a separate output measure. Adobe explains that resizing without resampling keeps the pixel dimensions unchanged. A 1600 × 1600 image therefore does not gain new edges, label characters or texture merely by changing its density tag from 72 to 300.
Pixel dimensions describe the actual image grid sent to a browser. A 1600-pixel export can appear sharp when displayed near its intended size, yet look soft if enlarged substantially, compressed heavily, or viewed from an unfocused source. A 300 DPI tag does not correct any of those causes. This is workflow guidance for reviewing assets; it is not a claim that a web platform reads or improves DPI metadata.
Compare the same pixels before delivery
Use two copies of the same fictional product export: Version A is 1600 × 1600 pixels with a 72 DPI tag, and Version B is 1600 × 1600 pixels with a 300 DPI tag. Place them at the same displayed width in a browser or image viewer. Inspect small packaging text, a high-contrast edge, fine weave, and any reflective surface. If the pixel content is identical, the online rendering should be materially the same.
Do not confuse metadata editing with resampling. Resampling changes the pixel grid, such as turning a 1600 × 1600 image into 3200 × 3200, but it cannot reliably recover detail absent from the source. It may make an output larger or allow a different display size, while sharpening may alter edge contrast. Review the result at the actual delivery size and check for invented or exaggerated product detail.
- Record each file’s pixel dimensions, file size, format, and DPI tag.
- Compare decoded pixel values, not whole-file hashes: changing metadata can change file bytes while leaving image pixels unchanged. Keep color handling the same for the visual comparison.
- Render both files at the same browser display width and inspect text, edges, texture, and reflections.
- If one looks different, test delivery width, compression, scaling, color handling, and the source focus before blaming DPI.
- Stop the comparison once the files are identical in pixels and the same delivery conditions produce the same result; changing the DPI tag further cannot improve web detail.
Choose the right correction
If the product looks soft online, first check whether the browser is enlarging a small export or whether an image pipeline is compressing it. Then review the original focus, motion blur, lens cleanliness, lighting, and the product’s smallest important detail. A larger export can help when the source contains enough information, but simply enlarging weak pixels does not prove that the product is sharper.
If the image will also be printed, set its DPI metadata according to the print workflow and required physical size. Keep that decision separate from web delivery. For an online listing, approve the asset by checking the delivered pixel dimensions, displayed size, compression, crop, and factual product details. CartVisual planning can help organize an image brief after sign-in, but these checks remain the user’s asset-review workflow.
Review the result, not the tag
A practical approval review asks whether the product remains recognizable, whether critical text is readable at the intended display size, and whether edges and materials look credible. Record the displayed width used for the test so that a later comparison does not accidentally compare different scaling conditions.
Treat a DPI value as supporting metadata rather than a sharpness score. A pass means the delivered image meets the visual requirement at its real use size. A fail means the source, pixel delivery, crop, compression, or display scaling needs investigation. Re-tagging alone is not a corrective action.
Web sharpness review
| Observation | Next check | Pass condition |
|---|---|---|
| Two 1600 × 1600 exports differ only in DPI tag | Render both at the same browser width | Product text, edges, and texture appear materially the same |
| The product looks soft after display enlargement | Compare delivered pixels with the displayed width | The asset is not being enlarged beyond the planned delivery size |
| Fine label text is unclear in both versions | Inspect source focus, capture size, and compression | The text is supported by real source detail, not a DPI change |
| A resized version looks sharper but adds suspicious detail | Compare against the original product reference | No generated or exaggerated markings, texture, or text are present |
| Print output needs a physical-size setting | Review the print workflow separately from web delivery | DPI is set for print without being treated as a web-sharpness fix |
If the pixel dimensions also need to change, use Why is an image’s aspect ratio different from its pixel resolution?.
Sources and further reading
Recorded source-review dates are listed individually below. An undated source does not inherit the article’s publication date. Software and platform rules can change; check the current original before acting.
- CartVisual: editorial scope and evidence · Reviewed
- Photoroom: repeatable product image workflow · Reviewed
- Google Search Central: image publishing guidance · Reviewed
- Adobe Photoshop: Image size, resolution, and resampling · Reviewed
Frequently asked questions
Does 300 DPI make a web image higher quality?
Not by itself. If the pixel dimensions and content are unchanged, changing 72 DPI to 300 DPI changes metadata, not visible web detail.
Should I resample a product photo for online use?
Only when the required delivery size calls for it and the source can support that size. Resampling cannot recreate reliable detail that was never captured.
What should I inspect when a product image looks blurry?
Check source focus, delivered pixel dimensions, display scaling, compression, crop, and the smallest important product detail.
PREPARE ASSETS FOR YOUR NEXT STEP
Create supporting product assets in CartVisual.
Create new product creative assets in the workspace, then continue in your chosen tools. Third-party software procedures described in this guide take place in those applications; this workspace link does not imply an integration. Check current capabilities, account access and credit quotes.
Explore asset creation tools Check pricing and credits